
Hummus
My hummus journey was a short one. This is not how I normally do cooking adventures, but occasionally, there’s no wormhole needed. The first time I made hummus was about 10 years ago with My Armo’s grandma. I was pleasantly shocked by 1) how easy it is to make 2) how cheap it is to make – seriously purchased hummus is highway robbery.
Hummus was a staple at her house – actually I don’t remember it ever not being on her table. This recipe diverges just a tad from her recipe because 1) she never used tahini in hers (that’s a post for another day) 2) she used canned chick peas 3) like any good Metzmama she didn’t measure.
Truth be told, I didn’t measure either until the recipe was requested by y’all. I went lighter on the garlic for y’all, but feel free to throw more in. Metzmama’s hummus almost seemed peppery with all of the garlic she used!
In this version, I started with dried chick peas. From my experience, they will produce the creamiest hummus. If you choose to substitute canned chick peas, I will not judge as I often use the canned kind. But just know some canned beans will blend smoother than others and salt levels vary plenty. I found popping the skins off the beans are a waste of time.
Boiled Chick Pea Ingredients
3 lbs of dried chick peas
3 quarts of water (might need more).
2 Tbl salt
Chick Pea Directions
Dump all of the ingredients in a heavy bottom Dutch oven. Put it on high heat until it boils, then bring it down to a simmer. Cover the pot and let it cook for about 3 hours. Give the pot a quick stir about every 30 minutes. Skim off foam as needed. It is done with the peas are fork tender (some skins will be popping off) and all of the water is absorbed. It should take about 3 hours.
If all of the water is absorbed before it’s done, add more. If the peas are soft and there is still water, uncover the pot, turn up the heat until the water evaporates. Any remaining liquid in the pot would have great flavor so don’t toss it out!
Notes
Freeze the peas you won’t immediately use. I usually put 2 cups in each bag for easy grabbing later.
Hummus Ingredients
about 4 cloves (you want 1 Tbl)
½ c lemon juice (have about 4 lemons on hand)
½ c of water (more may be needed)
6 Tbl tahini
4 c boiled chick peas
6 Tbl oil
sumac or paprika (optional garnish)
Hummus Directions
Slice off the dry end of the garlic clove. Give it a quick whack with the side of a knife to pop the skin off. Add the garlic to a food process and give it a few pulses.
Squeeze lemons to get a ½ c of juice. I roll a lemon back and forth on the counter a few times while using downward pressure from the heel of my hand. You’ll feel the rind give a little and you can stop rolling. Cut the lemon in half around the equator, remove the seeds, stick a fork in the flesh and squeeze away. Add it to the food processor.
Add ½ c of water (if you have chick pea brine, use that in place of the water – if you followed my directions, you shouldn’t have any!). Add it to the food processor along with 6 Tbl of tahini, and 4 c of chick peas.
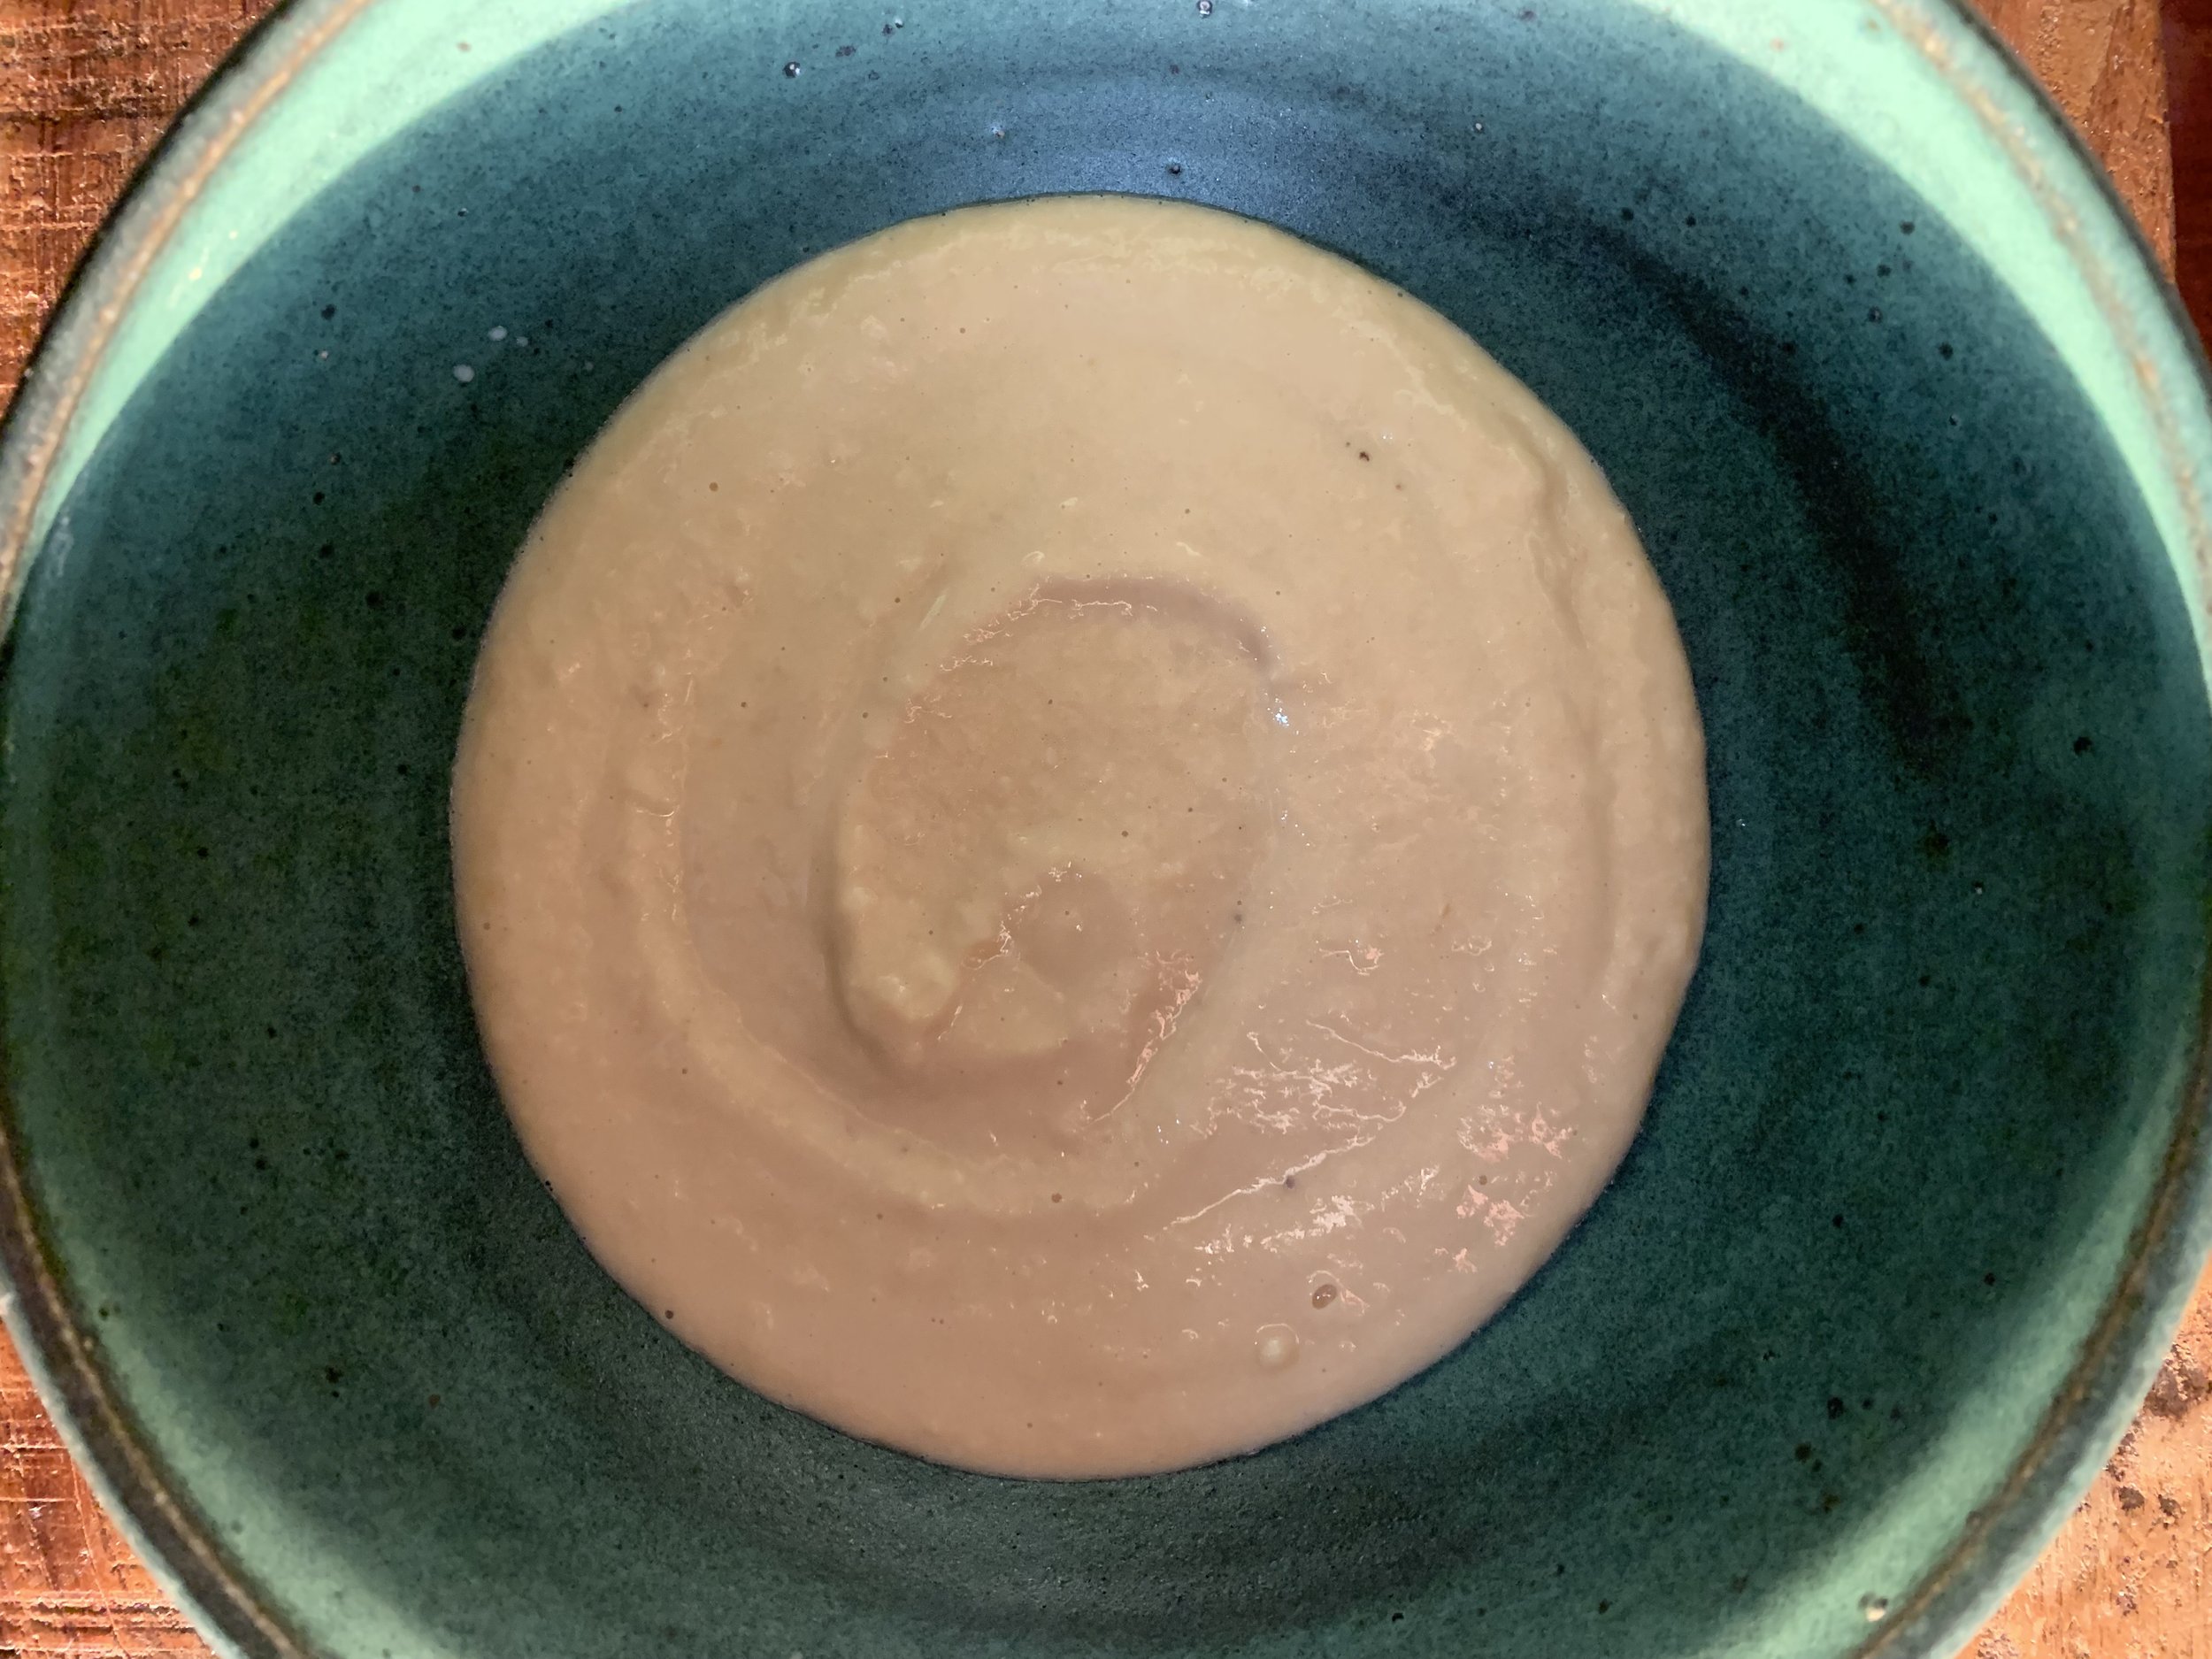
Pulse it until well combined. Taste it. Add more of anything. It will taste a little off because we haven’t added the oil yet. You want the hummus to be soft. A good rule of thumb is if you run the back of the spoon through it, the trail should be well defined but slightly filled in. That’s the end texture you want. Some brands of tahini thicken the humus far more than others so don’t be afraid to add water. It will firm up some in the fridge so if you’re not eating right away, add more liquid and it will seem too a tad too thin. The hummus in the photo is what it should look prior to refrigerating.
Run that motor like a mad man. Depending on the power of your food processor, you’ll need to run it from 3-5 minutes as an estimate. When you think it’s done, process it an additional minute. Add the oil and pulse just until combined.
Put the hummus in a bowl, run the back of a spoon in a spiral shape to make it pretty. Sprinkle sumac or paprika on top for a pop of color.
Notes
I beg you, plead with you to use fresh garlic. Jarred minced garlic is not nearly as good. I haven’t tried frozen garlic so no opinion on that.
Garlic intensity varies greatly. There’s a chance you want more garlic, so don’t be afraid to add more. I used medium intense garlic when I tested the recipe – I would never use less garlic.