
Ricotta Cheese
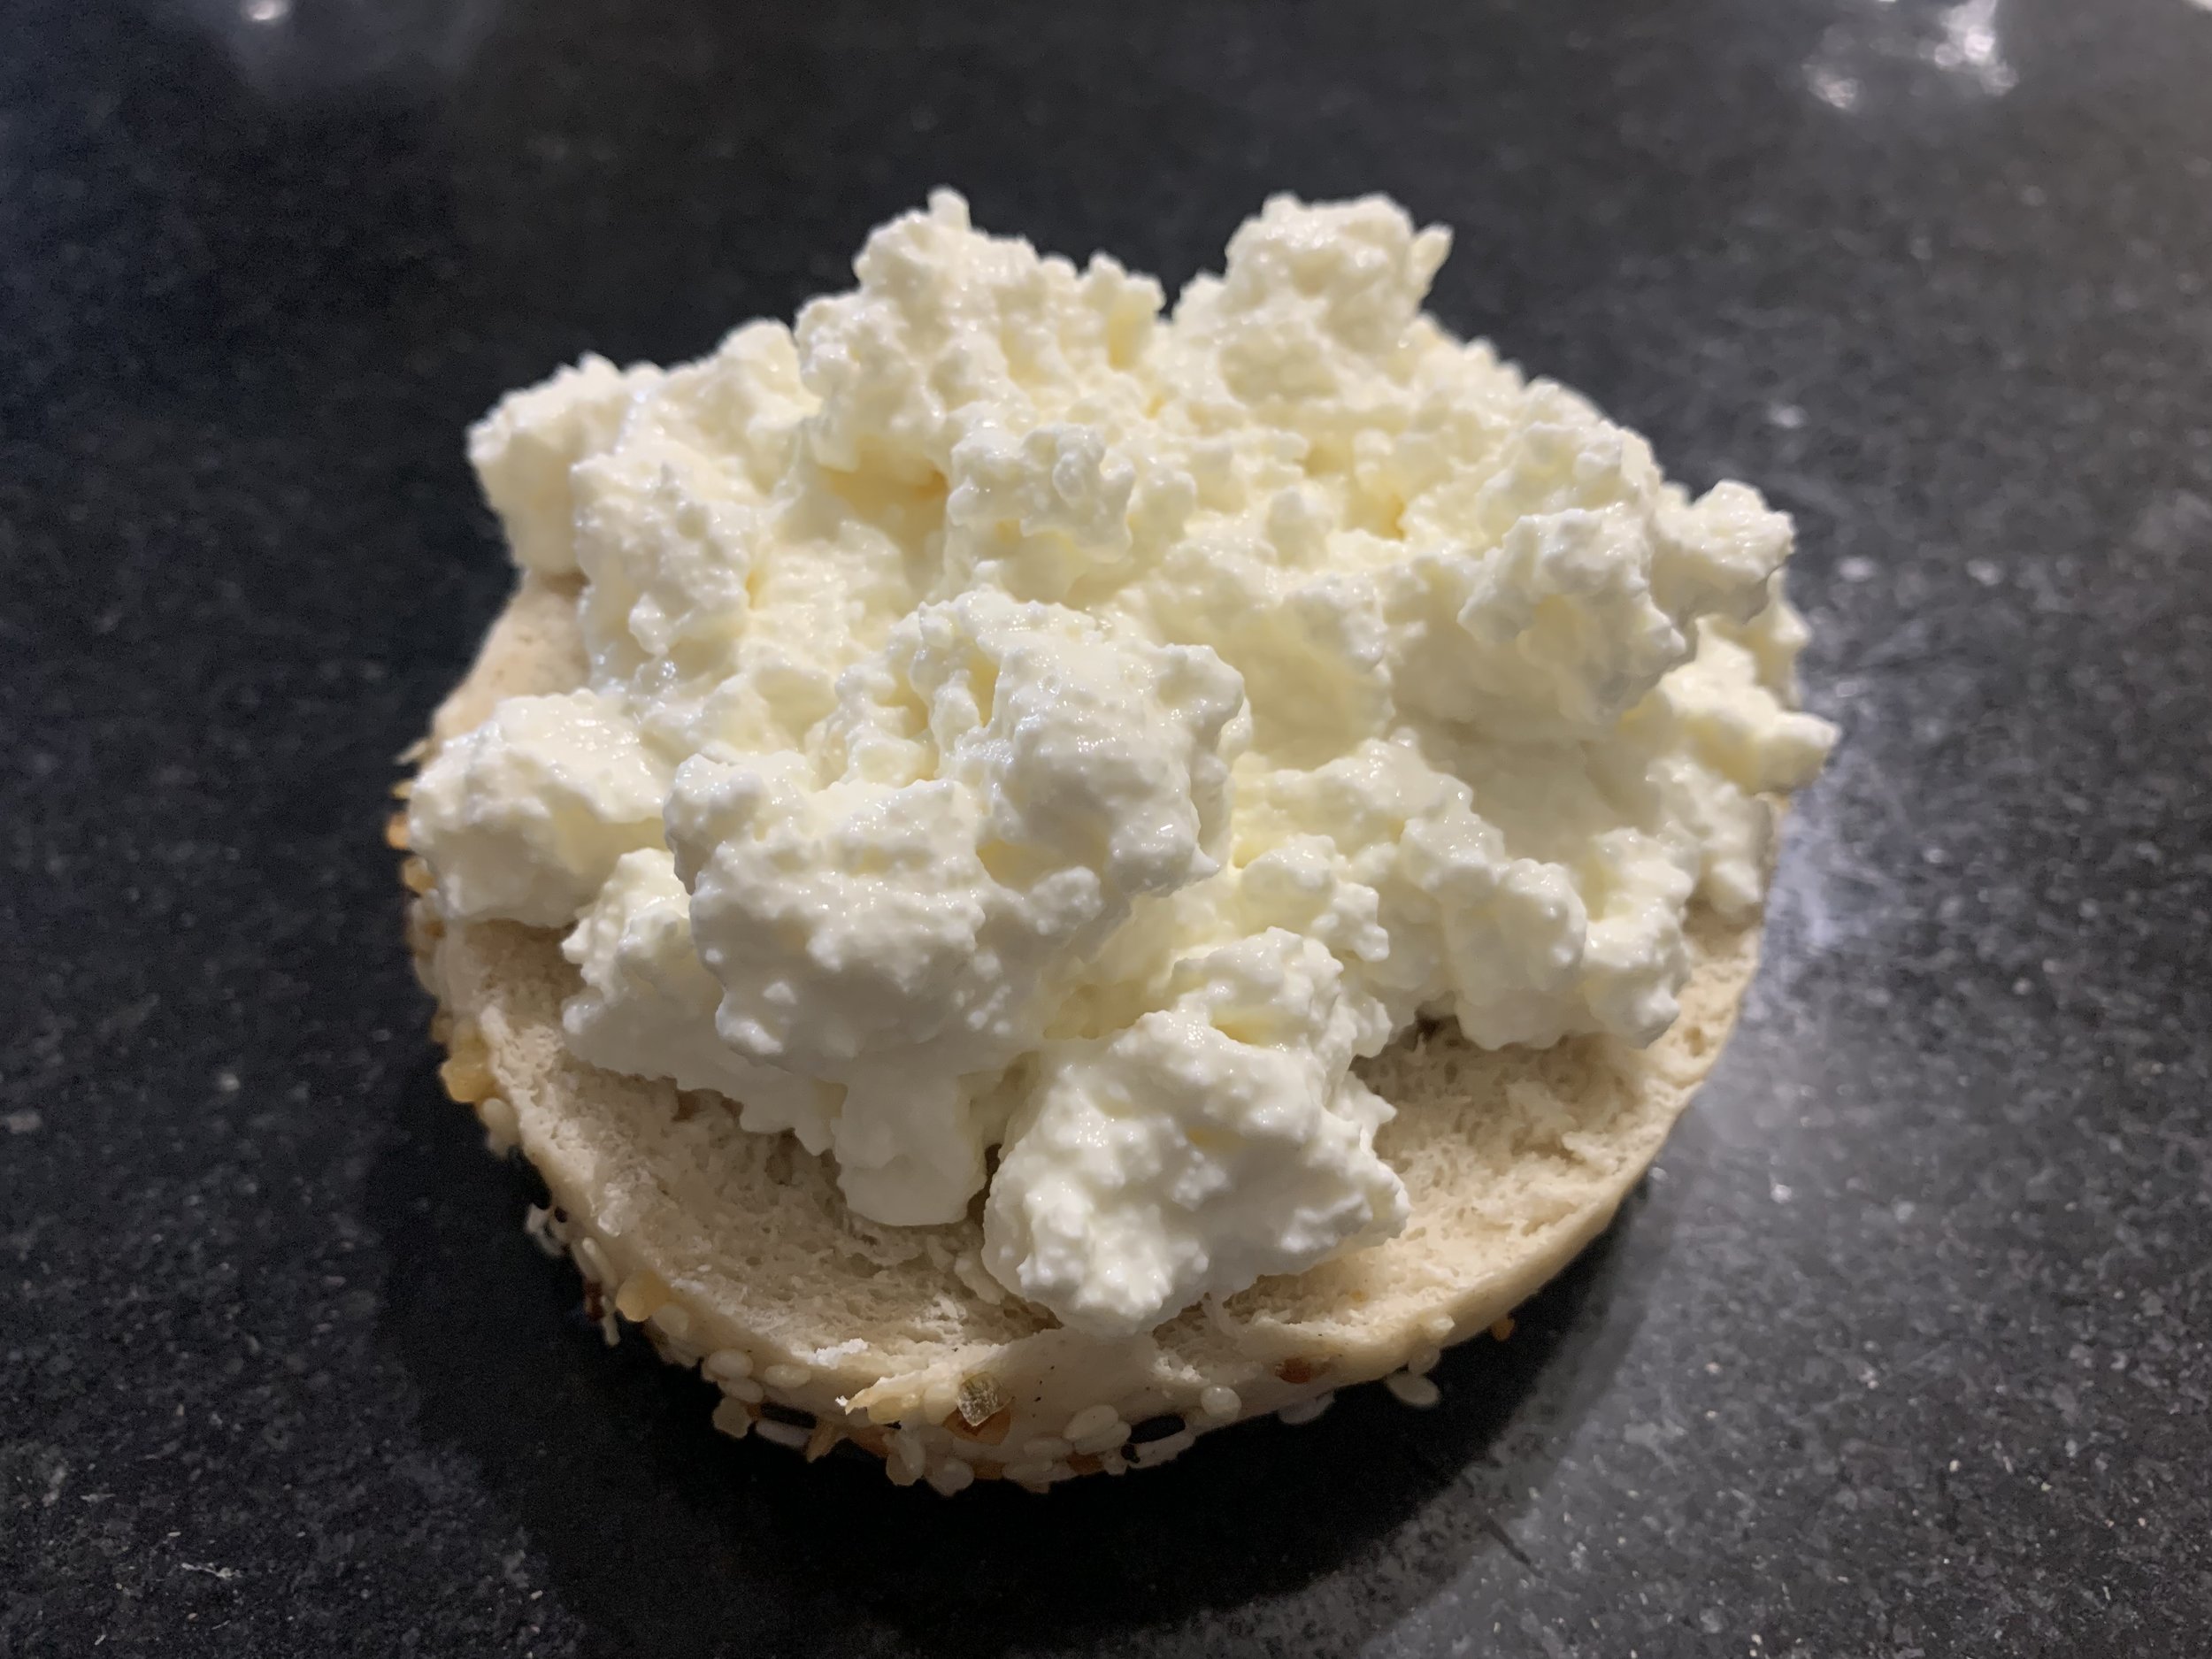
Fresh cheeses are one of the simplest things we can make, and will often taste worlds better than their purchased counterparts. It’s like eating a ball of fluff that brings a richness to acidic foods.
Unless you’re my mom (thanks ma!), you probably haven’t read my FAQ section which talks about ricotta cheese. In a quick recap, if you think you don’t like ricotta, try a different brand or make your own. Ricotta should be fresh, light, and moist.
There’s one main thing that can go wrong with fresh cheese making. Whatever you do, do NOT use ultra-pasteurized milk which gives milk a longer shelf life and slightly thicker consistency. The high heat changes the native bacteria and enzymes which will not allow the milk to form a curd. Almost all organic milk is UP so it’s best to avoid it for cheese making. Some conventional milk is UP so make sure you read the label. Sometimes the label will say “ultra-pasteurized” but it might just have the letters “UP”.
Fresh Cheese Ingredients
½ gallon + 1.5 cups whole milk
½ c Greek yogurt
white vinegar (up to ¼ c)
½ tsp salt
Directions
In a large heavy bottom pot, heat ½ gallon of milk until the foam comes up the sides of the pot. Stir it occasionally so the bottom doesn’t brown the milk. If milk does brown on the bottom on the pot, simply roll with it and do not scrape the bottom – the brown bits will end up in your cheese.
Mix the Greek yogurt and 1.5 cups of milk so there are no lumps and add the mixture to the pot. Lower the heat. Do not stir or your cheese will be tough. The milk should begin to separate within a couple of minutes. If it doesn’t, add a splash of vinegar. Resist the urge to stir. If you must, use a soup ladle and lower it directly down into the milk and bring it straight up. Lower it back down gently to prevent streaming from the ladle. If the mixture still doesn’t separate, add another splash of vinegar. When you see curdles and the liquid is a clear yellow, remove the pot from heat.
Gently ladle the cheese mixture into a strainer lined with a cheese cloth (a worn t-shirt will do the trick) and allow the whey to drain. You don’t want to pour the mixture because it will compact the cheese. Let it drain until desired dryness. I like it to be on the wetter side.
Sprinkle in the salt and fold it in using a fork in an upward (not downward) motion. Taste. Adjust salt.
When cool, save it in a sealed container for up to a week in the fridge.
Notes
When trying to determine the moisture content of the cheese, remember the cheese in the middle of the strainer will be far wetter than the cheese adjacent to the cheese cloth. If you wait until the middle has your desired wetness, your cheese will most likely be too dry. Your cheese will firm up more once it’s cool and refrigerated. When in doubt, go with it on the wetter side.
Once your cheese cools in the fridge, you may notice a little separation, fluff it with a fork and you’re good to go.
If you browned the bottom of your pot no worries. After you empty out the liquid, give it a quick scrub. Add water and soap and put it on the stove and bring it to a boil. Gently scrape the bottom with a large spoon. Repeat if necessary.
Rennet is often associated with cheese making because it’s a traditional additive that seperates milk into curds. When I took a cheese making class, the teacher said you could use vinegar or citric acid in place of rennet if you want the cheese to be vegetarian – rennet is an enzyme found in an animal’s stomach. I default to vinegar because 1) I don’t make cheese often enough to justify keeping rennet in my pantry 2) rennet can be a bit of a challenge to find.